
Tools and Prep

What You Need
Before starting, gather all the things you’ll need. Using the right tools makes the job easier and helps protect the racket. Here are the materials you will need:
-
Sharp nippers or cutters for removing old strings and trimming new ones
-
Bent-nose pliers to pull knots tight and guide strings through small spaces
-
Starting clamp to hold the first string in place
-
Awl or stringing awl for clearing tight grommet holes
-
Tennis string of your choice
-
Scissors for cutting string ends
-
Clamps (if available) to help hold tension
-
A partner, if possible, to help with tensioning
These tools cost much less than a stringing machine. Machines can cost hundreds or even thousands of dollars, but hand tools are more affordable. Using purpose-built stringing tools is important. Household tools might damage the frame or make it hard to keep tension even.
Getting Ready
Set up a clean, flat workspace with good lighting. Keep all the things you’ll need within reach. Wear eye protection if you worry about string snapping. Before preparing the racquet, cut out the old strings with nippers. Check the frame for cracks or damage. Make sure the grommets are not broken. A safe and tidy area helps prevent mistakes and keeps the process smooth.
How to String a Tennis Racket Without a Machine
Start the Mains
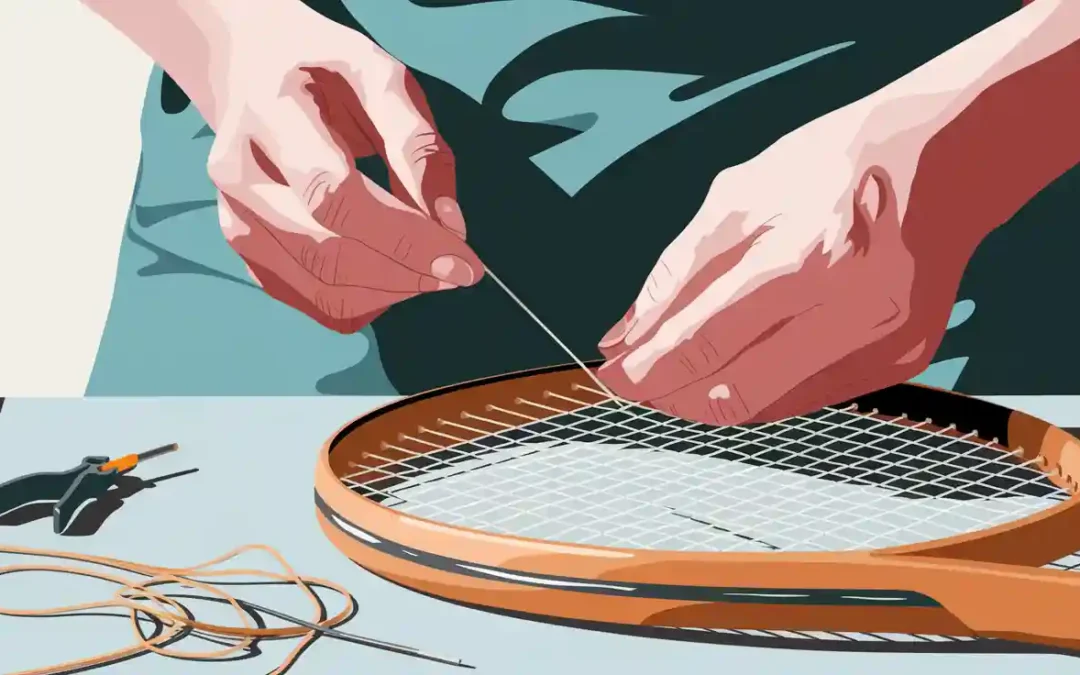
He or she should start by securing the racket. Many people hold the racket between their knees or place it on a towel on a table. This keeps the frame steady. Take the tennis string and find the center. Thread both ends through the two center holes at the top of the racket. Pull the string until both sides are even.
Next, thread each end down through the matching holes at the bottom of the frame. Pull the string tight by hand. Use a dowel or a thick pen to help pull and hold tension. If a partner is available, one person can hold the string while the other threads. This makes it easier to keep the string tight.
Continue threading the mains, moving outward from the center. Always pull each string tight before moving to the next. Use pliers to help grip and pull if needed. Check that the strings stay straight and do not twist. Take your time. Rushing can lead to mistakes.
Weave the Crosses
Now, start weaving the cross strings. Begin at the first open cross hole near the top of the racket. Guide the string over and under the main strings. Make sure the first weave is over, the next is under, and so on. The last weave should be the opposite of the first.
After weaving each cross, pull the string through. Move the string up and down as it slides over the mains. This reduces friction and helps prevent damage. Leave a small loop at the end of each cross. This loop lets you pull the string tight later.
Tip: Clamp the string close to the grommet after tensioning. This helps keep the tension from slipping.
Keep the mains and crosses straight as you work. Use your fingers or an awl to adjust them. As you get closer to the bottom, tension increases. Slow down and check your work. Tie off the cross strings with double knots facing opposite directions. This helps keep the tension in place.
Tension by Hand
Tensioning by hand is the hardest part of how to string a tennis racket without a machine. Machines use electronics or cranks to keep tension even. When people restring their racquet by hand, they must rely on feel and strength.
Pull each string as tight as possible. Use a dowel or thick pen to wrap the string and pull harder. If two people work together, one can pull while the other holds the string in place. Wait a few seconds before clamping or tying off. This helps the string settle and keeps tension more even.
Check the tension by pressing on the strings or tapping them. Listen for a clear, high pitch. If some strings sound dull or loose, pull them tighter. Remember, tension will not be as consistent as with a machine. Even skilled stringers find it hard to match the results of electronic machines. Still, with patience, anyone can restring their own tennis racquet and get good results.
Tie Off and Finish
Finishing the job is important. Tie off the strings so they do not slip or loosen. Many people use the Double Half Hitch knot. It is simple and reliable, but can look bulky. Some prefer the Parnell Knot. It looks cleaner and holds tension better.
Here are some ways to tie off by hand:
-
Use a double threaded needle. Cut the thread below the needle, tie the two halves together, and make three knots. Tighten the first knot close to the frame.
-
Use a single threaded needle. Leave about three inches of thread, loop it to make a knot, hold the knot in place, and tighten it carefully.
-
Try a knotless method. Make a tiny stitch through both string layers, reinsert the needle to form a loop, pass the needle through, and pull until the loop flattens. Trim the thread.
-
On felt, tie a regular knot, butt it against the felt, insert the needle next to the knot, bring it out in the middle, pull to tighten, and trim so the end hides inside.
Note: The Parnell Knot is popular with experienced stringers. It keeps tension better and looks neat.
After tying off, trim any extra string. Check all knots to make sure they are tight. Straighten the strings one last time. Now, the racket is ready for play.
Learning how to string a tennis racket without a machine takes practice. Tension may not match a professional job, but anyone can restring their racquet at home. With patience and care, people can restring their own tennis racquet and save money.
Tips and How to Restring Safely
Even Tension
Keeping tension even is key when learning how to restring by hand. Players should always start stringing from the center and work outward. This helps balance the pressure on the frame. They can use a dowel or thick pen to pull each string tight. It helps to check the tension by pressing on the strings or tapping them. If a string feels loose, pull it again before moving on. A partner can help hold the string steady. Players should also make sure the strings run straight and do not twist. This prevents weak spots and keeps the racket strong.
Tip: After finishing, gently straighten the strings with your fingers. This makes the string bed even and helps with play.
Avoiding Damage
Frame damage can happen if someone does not follow the right steps. Always cut out old strings before starting to string a tennis racquet. Cut from the center and move outward to release tension evenly. Use sharp cutters to avoid cracking the frame. Never leave broken strings in the racket, as this puts extra stress on the frame. When pulling strings, do not over-tighten. Too much force can warp or crack the racket. Stick to the recommended tension for your string type.
Common Mistakes
Many people make the same errors when they restring your racquet by hand. Here are some to watch for:
-
Skipping holes or weaving the crosses wrong
-
Not pulling each string tight enough
-
Forgetting to check knots for tightness
-
Rushing and missing steps
To avoid these mistakes, take your time and check your work often. After you restring your racquet, look for even spacing and tight knots. If the strings look uneven or feel loose, fix them before playing. Players should also remember to restring as often as they play each week. For example, if someone plays twice a week, they should restring their racquet two times a year. This keeps the strings fresh and the racket ready for action.
Stringing a tennis racket by hand needs a few tools and patience. Anyone can get better with practice. You will learn to tie knots and control tension as you go.
|
Skill Improved |
Benefit |
|---|---|
|
Knots stay tight and strong |
|
|
Error Reduction |
You make fewer mistakes |
-
Getting the tension right is very important.
-
Hand stringing does not save much money, but you learn good skills.
FAQ
How long does it take to string a tennis racket by hand?
Most people need about one to two hours. Beginners may take longer. Practice helps speed up the process.
Can someone use any type of string for hand stringing?
He or she can use most tennis strings. Some thicker strings may feel harder to pull tight without a machine.
What if a string breaks during the process?
Stay calm. Remove the broken string and start again with a new piece. Double-check for sharp edges on the frame before restarting.
Related Products

pp mini pro tennis machine
")
PT smart pro tennis ball machine
")
PT smart tennis machine
Related Posts

I am leo lee, a passionate pickleball player with more than 10 years playing experience, I am the owner of lixisports and helped more than 50+ pickleball orgnanizations to grow their business.