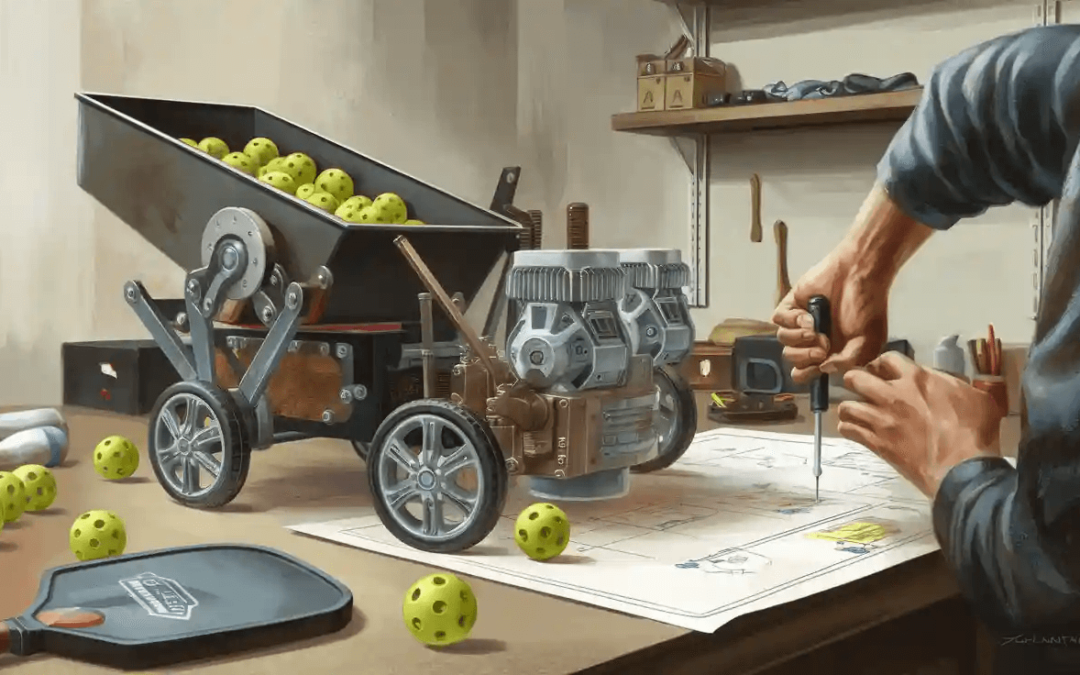
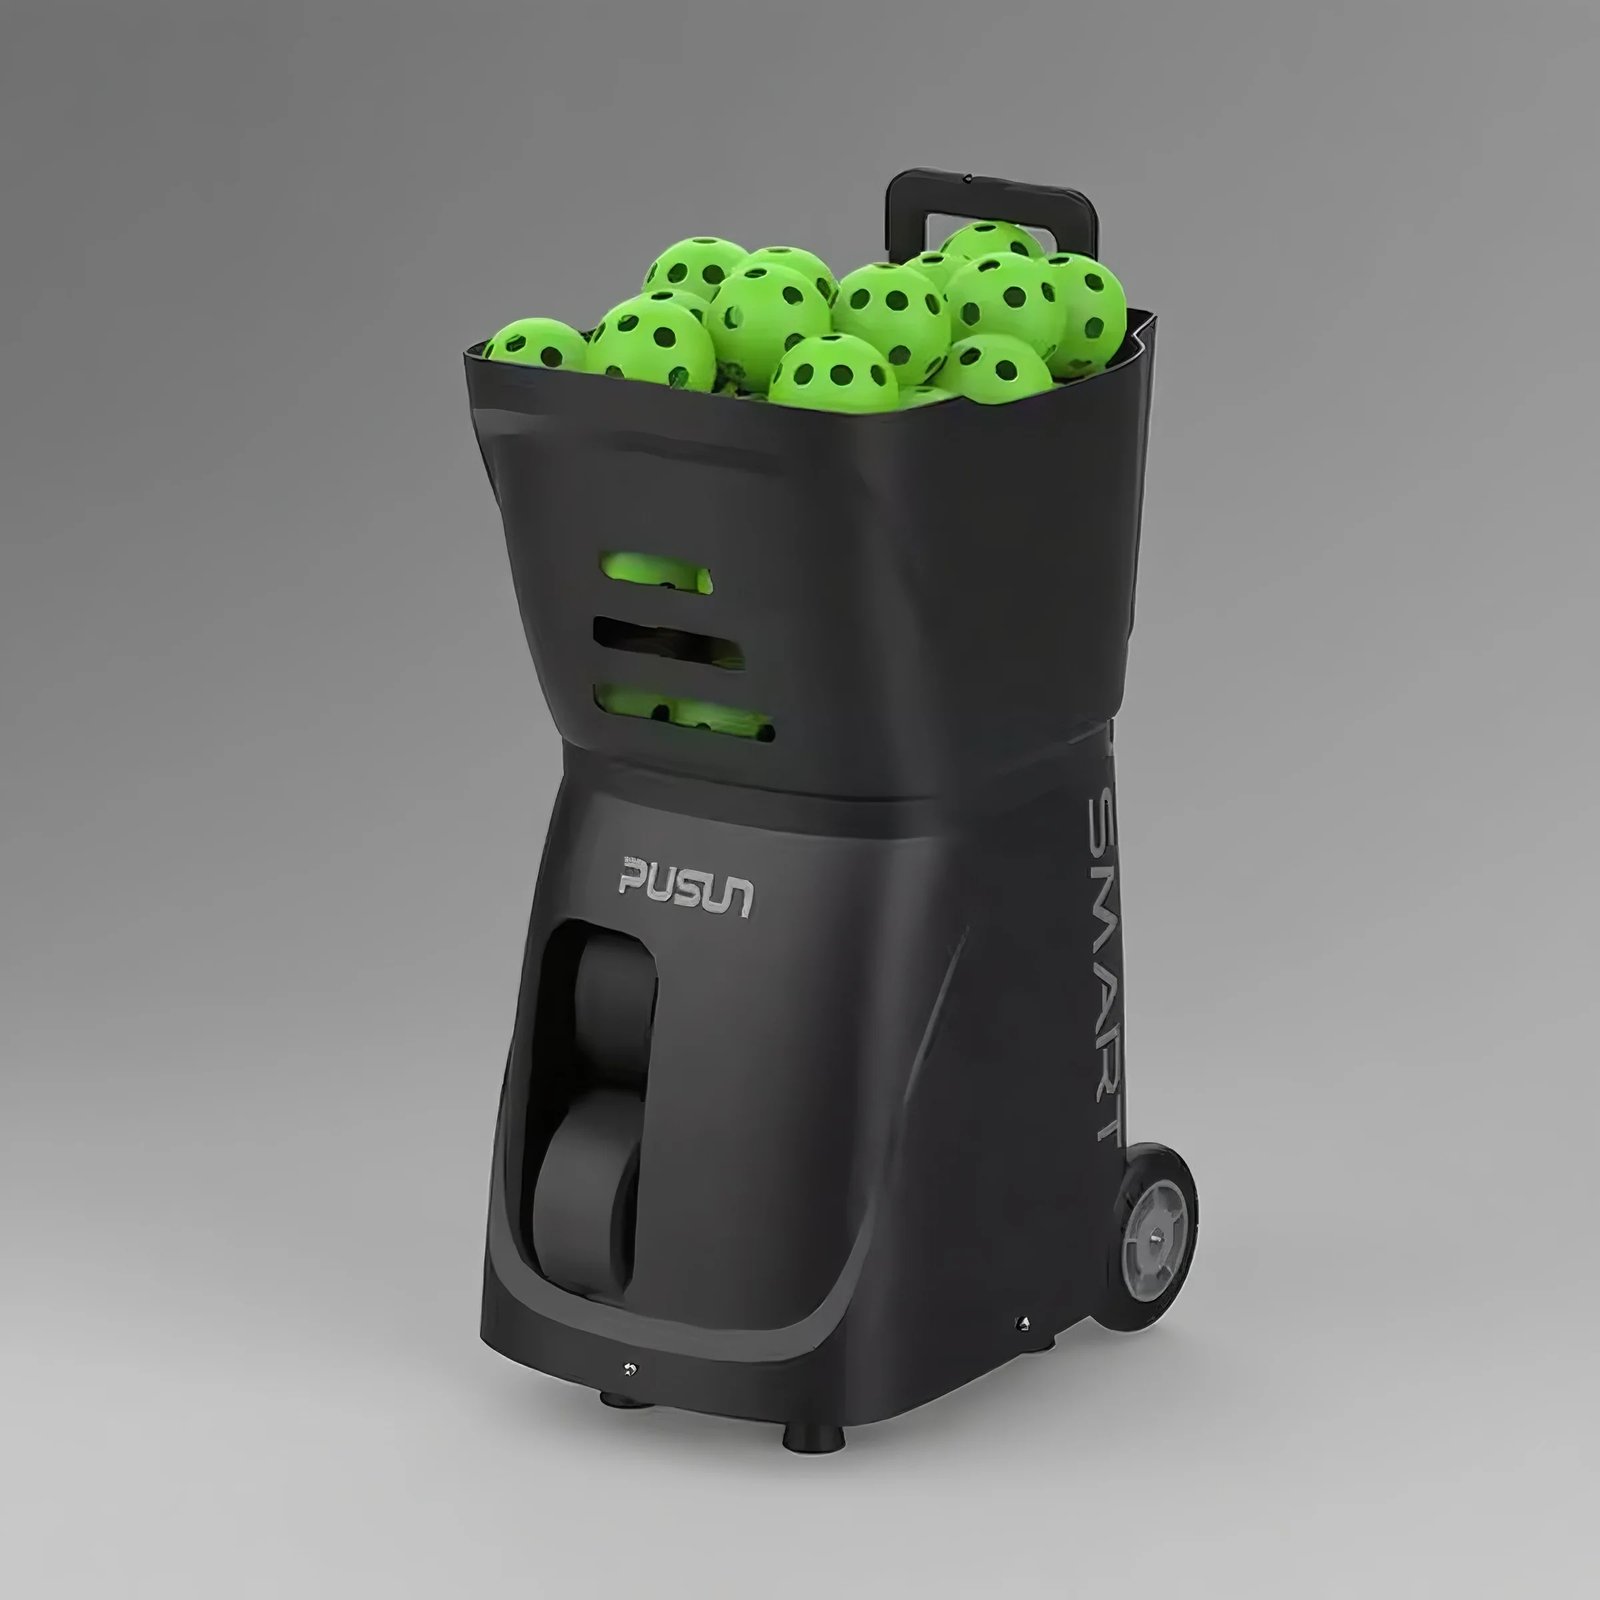
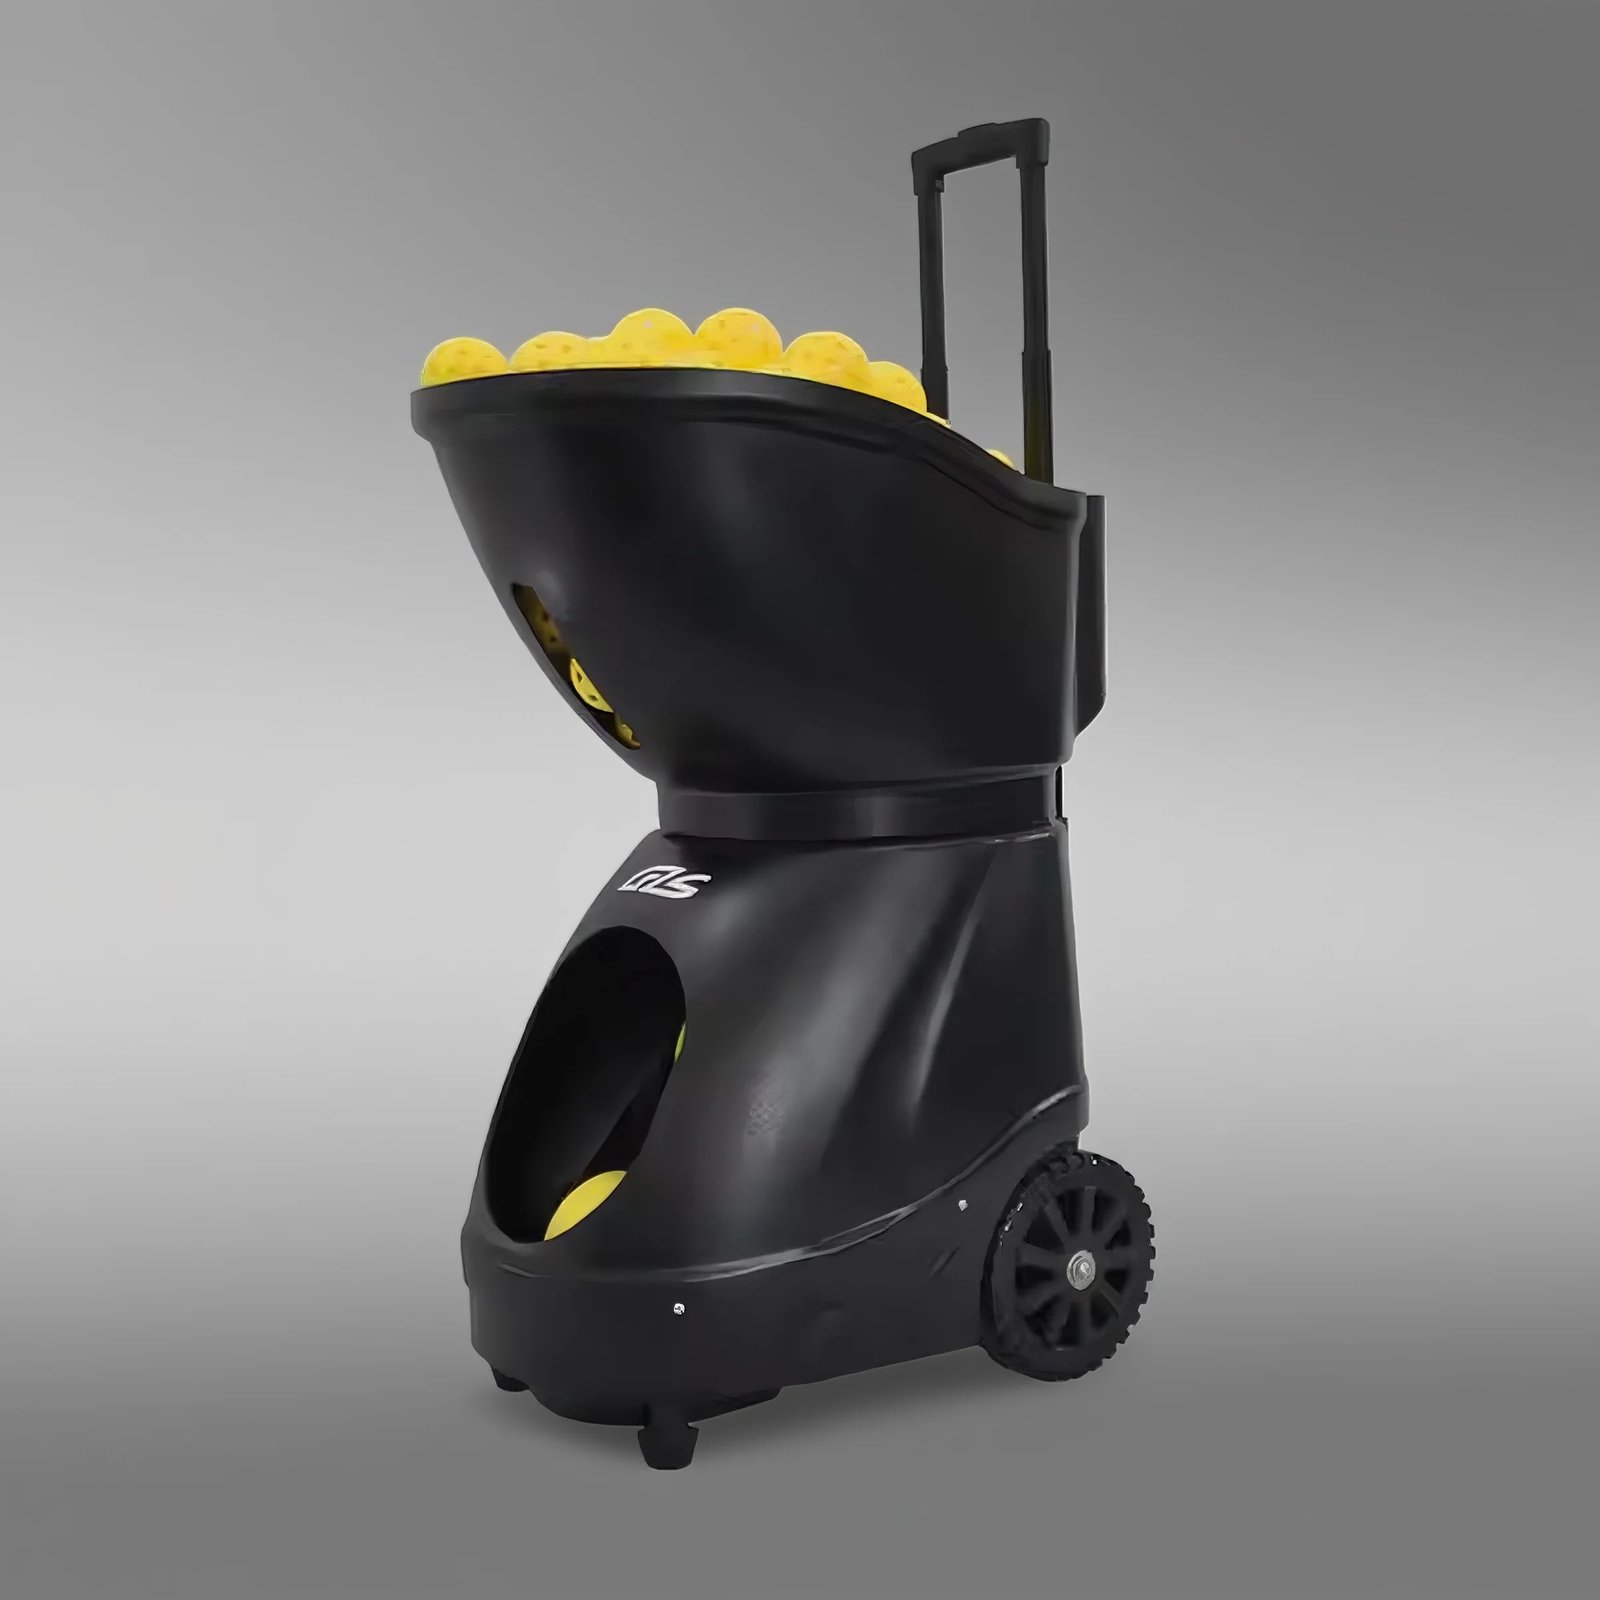
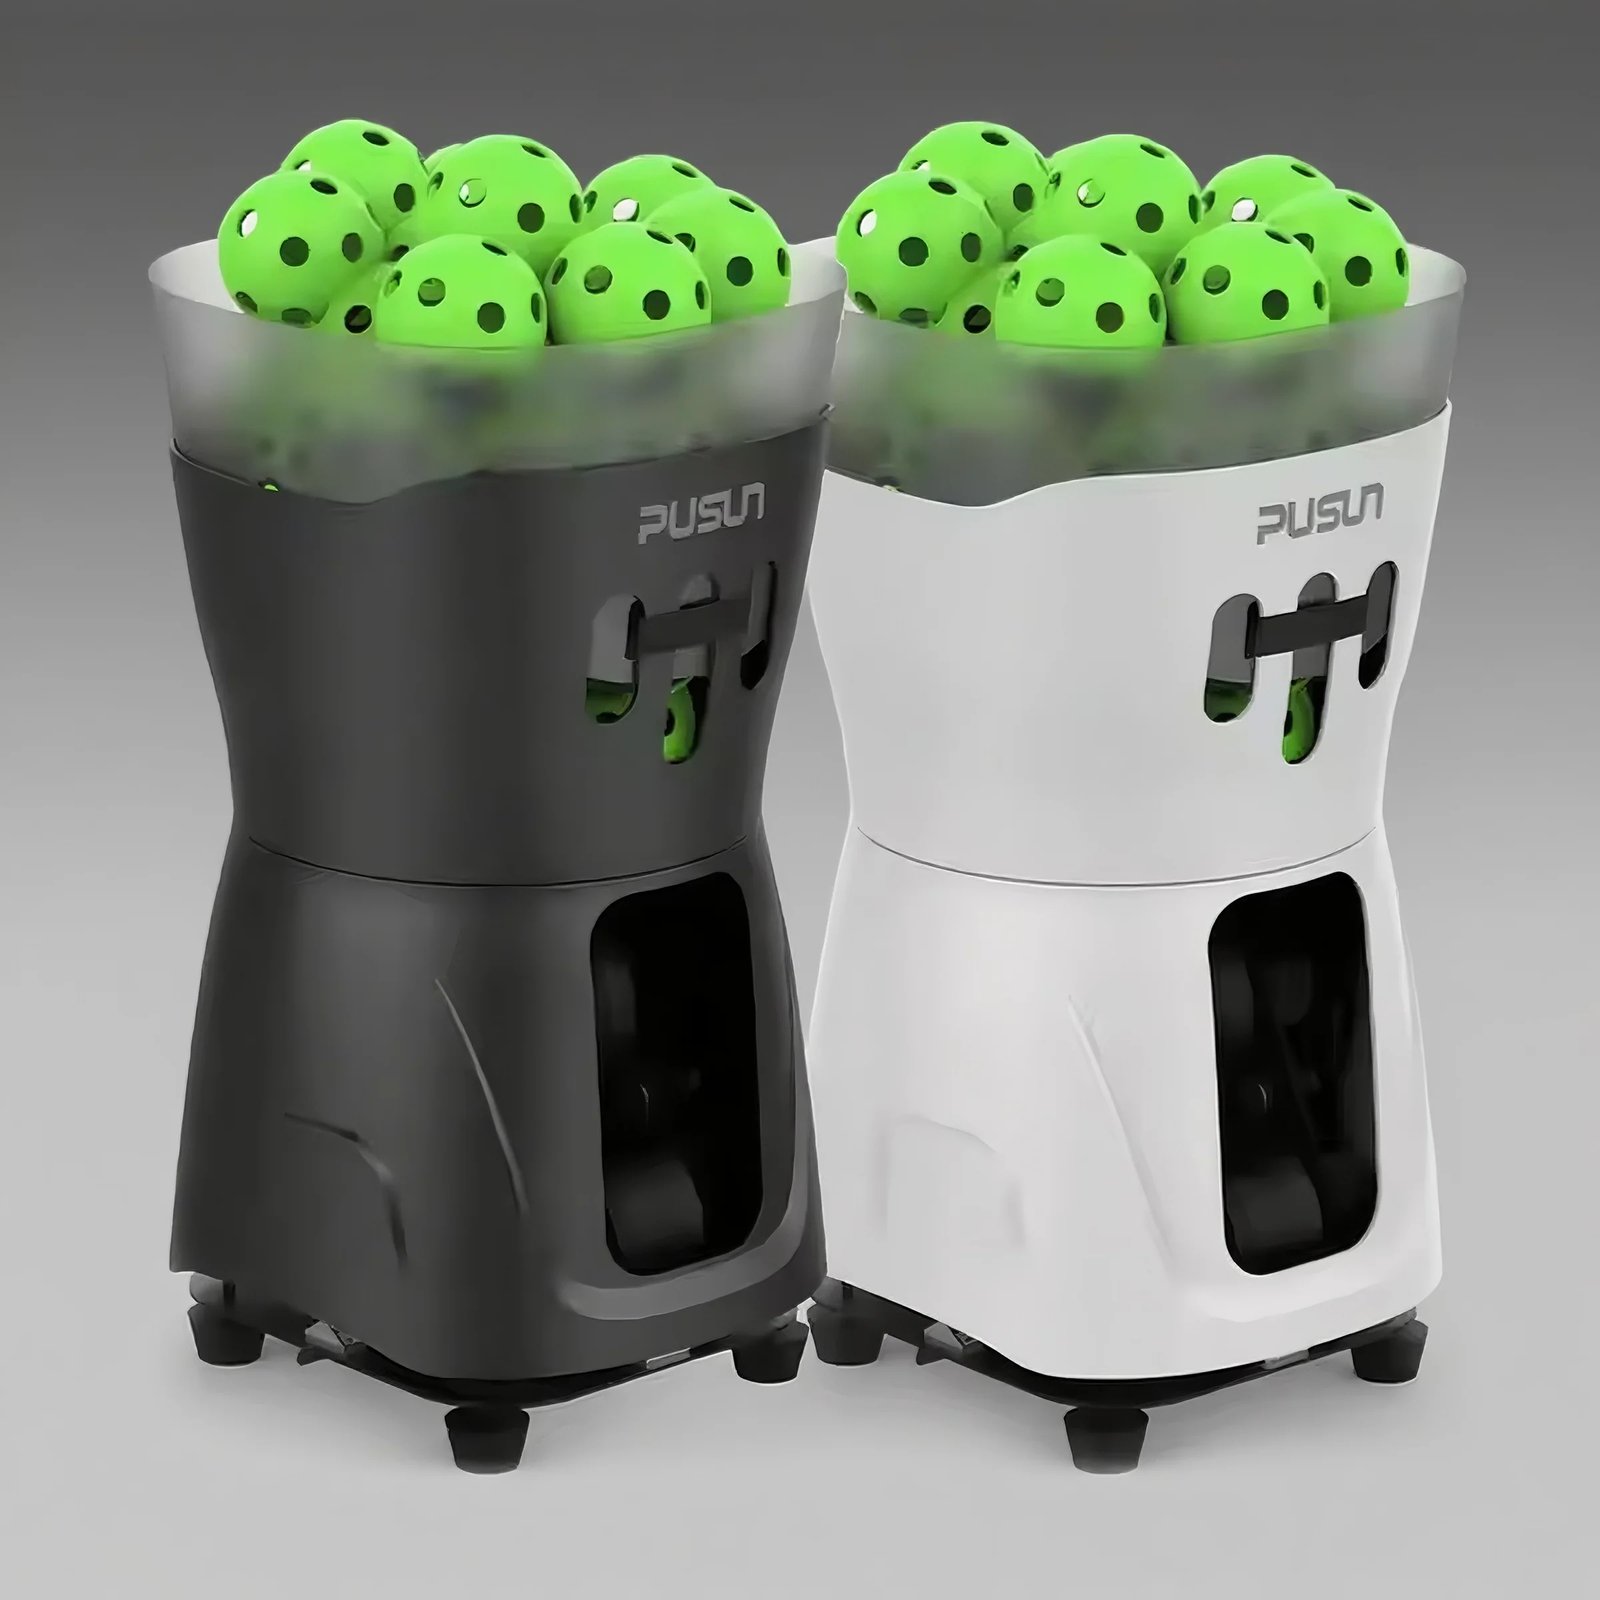
Building a diy pickleball machine at home sounds fun, right? You can make your own pickleball machine without spending a lot. Buying a pickleball machine can cost hundreds,even thousands of dollars, but with the proper materials prepared,and following the instruction tips, you can have a simple and ready-to-use machine that helps you practice pickleball playin skills at home, lets see how.
Making your own pickleball machine costs less money and lets you practice when you want with your own setup. – Use strong wood and tough parts for the frame, and pick a motor with about 3200 RPM so the balls launch smoothly. – Plan the ball feeder well to stop jams by making the openings wide and slanted so balls move easily. – Always follow safety rules: unplug the motor before you work, wear safety glasses, and make sure kids are watched. – Make your machine better with Arduino or remote controls to add speed, spin, and app features for more practice.
DIY Pickleball Machine Parts
Materials List
You need the right materials to build a diy pickleball machine that works well and lasts. Most people use plywood or wooden sheets for the frame. These materials are strong and easy to cut. You will also need screws and nails to hold the wood together. L-brackets help make the frame sturdy. If you want your pickleball machine to look nice, you can use paint or stain and smooth the wood with sandpaper.
For the ball launcher, you need a motor. Look for one with about 3200 RPM and 1/2 HP. Friction wheels help shoot the pickleball out of the machine. You also need a battery holder and a switch. If you want to upgrade your diy pickleball machine, you can add an Arduino for better control.
-
Plywood or wooden sheets (for the frame)
-
Screws, nails, and L-brackets
-
Glue (for extra strength)
-
Paint, stain, and sandpaper (optional)
-
Motor (~3200 RPM, 1/2 HP)
-
Friction wheels
-
Battery holder and switch
-
Arduino (optional for upgrades)
Tools Needed
You do not need fancy tools to make a diy pickleball machine. Most of these tools are easy to find at home or at a hardware store.
-
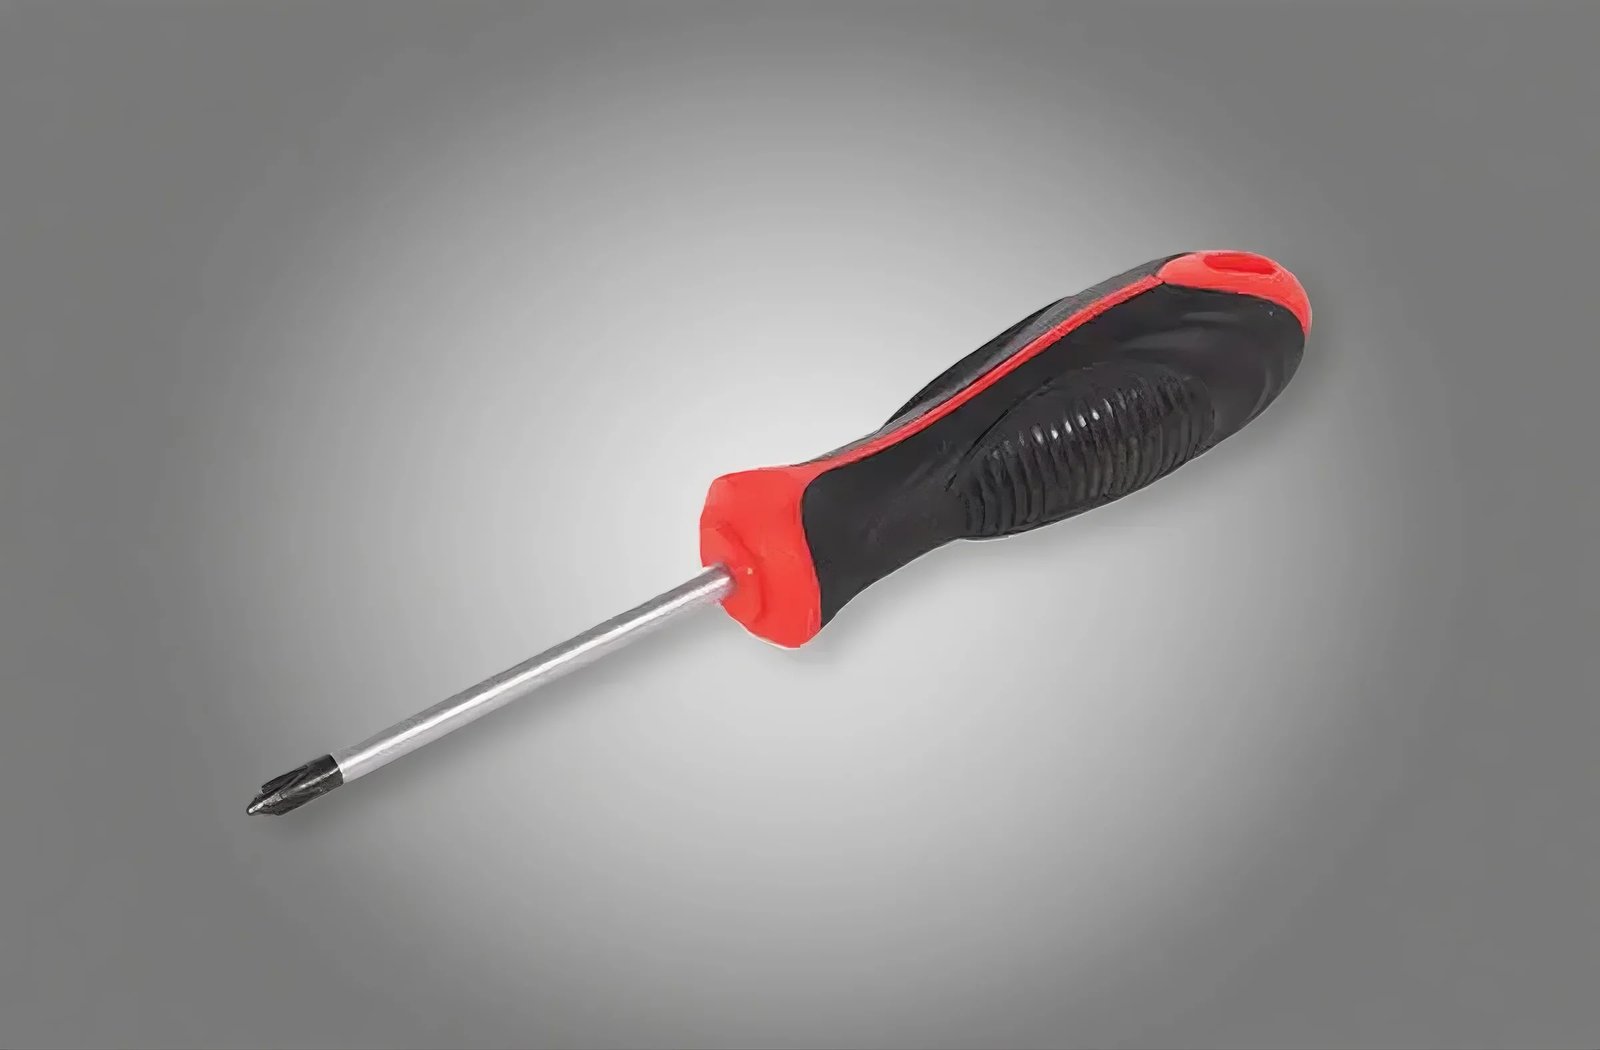
Screwdriver
-
Drill
-
Saw (for cutting wood)
-
Measuring tape
-
Wrench
-
Sandpaper
Cost Overview
You can save a lot of money by building your own pickleball machine. Most commercial machines cost $600 or more. A diy pickleball machine usually costs much less. Here is a simple cost breakdown:
|
Part |
Estimated Cost ($) |
|---|---|
|
Wood & Hardware |
30 |
|
Motor & Wheels |
60 |
|
Battery & Switch |
20 |
|
Arduino (optional) |
15 |
|
Paint & Finish |
10 |
|
Total |
135 |
Tip: You can find many of these parts at local hardware stores or online. Sometimes, you can even use leftover wood or old motors to save more money.
Frame & Assembly
Frame Build
Let’s start building the frame for your pickleball machine. You want a strong base that can handle the weight of the motor and the balls. Cut your plywood or wooden sheets into four sides and a bottom. Use screws and L-brackets to connect the pieces. Make sure the frame sits flat on the ground. If you want to move your pickleball machine around, add small wheels to the bottom. Paint or stain the wood if you want a cool look. Sand the edges so you don’t get splinters while playing pickleball.
Tip: Double-check your measurements before you cut. A sturdy frame helps your pickleball machine last longer.
Ball Feeder
Now, let’s build the ball feeder. This part holds the pickleball balls and drops them into the launcher. You can use a plastic tube or a small box for this. Attach the feeder to the top of your frame. Make sure the opening is wide enough for a pickleball to pass through easily. If you want to feed more balls, use a longer tube or a bigger box. Test the feeder by dropping a pickleball through it. If it gets stuck, make the opening a bit bigger.
-
Use a funnel shape for smoother feeding.
-
Keep the feeder at a slight angle so gravity helps the pickleball roll down.
Safety Tips
Safety comes first when you build and use your pickleball machine. Always unplug the motor before you work on it. Wear safety glasses when you cut wood or drill holes. Keep your hands away from the moving parts, especially the friction wheels. Never let kids use the pickleball machine without an adult. Check the frame and feeder for loose screws before every pickleball practice. If you see any damage, fix it right away.
Note: A safe pickleball machine means more fun and fewer accidents!
Motor & Power
Motor Selection
Choosing the right motor makes your pickleball machine work smoothly. You want a motor that spins fast and has enough power to launch a pickleball across the court. Look for a motor with about 3200 RPM and 1/2 horsepower. This size gives you a strong shot without making the machine too heavy. You can find these motors online or at local hardware stores. Some people use motors from old appliances, like treadmills, to save money. Make sure the motor fits your frame and can connect to the friction wheels. If you want to adjust the speed, pick a motor with a simple speed control knob.
Power Setup
Your pickleball machine needs a steady power source. Most people use a rechargeable battery to keep things portable. You can also use a plug-in power supply if you plan to practice near an outlet. Here’s a quick look at some reliable charger options for your pickleball machine:
|
Charger Type |
Voltage & Current Output |
Connector Type |
Key Features & Notes |
Price Range |
|---|---|---|---|---|
|
Standard Charger |
13V DC, 1A |
Barrel 5.5mm x 2.5mm or 3-pin XLR |
Used on many pickleball machines; good for regular use; easy to find but quality can vary |
$15-$35 |
|
Premium Charger |
Approx. 13V DC, 3A |
3-pin XLR |
Charges faster; trickle charge keeps battery healthy; safe to leave plugged in |
Around $150 |
A standard charger works well for most DIY pickleball machines. If you want faster charging and longer battery life, try a premium charger. Always match the charger to your battery type and check the connectors before you buy.
Tip: Keep your charger and battery dry and away from direct sunlight. This helps your pickleball machine last longer.
Testing
Now it’s time to test your motor and power setup. Place a pickleball in the feeder and turn on the machine. Watch the friction wheels spin and see if the pickleball launches smoothly. If the ball does not shoot out, check the motor wires and battery connections. Listen for any strange sounds from the motor. If you hear grinding or buzzing, turn off the machine and inspect the parts. Try launching a few pickleballs to make sure everything works well. Adjust the speed if needed. Testing helps you catch problems early and keeps your pickleball machine safe and fun to use.
How to Make a Ball Launcher
Friction Wheel Mechanism
When you want to learn how to make a ball launcher for pickleball, you need to start with the friction wheel setup. This part does the heavy lifting. The friction wheels grab the pickleball and shoot it out of the launcher. You want your launcher to be strong and stable, so use a metal frame with an L-shape. This shape keeps everything steady when the motors spin fast.
Here’s a step-by-step way to build the friction wheel mechanism:
-
Mount two CNC motors on your frame. Motors that reach up to 10,000 RPM work best for launching pickleball balls.
-
Attach the friction wheels directly to the motor shafts. Skip couplings to make assembly easier.
-
Place bearings on the shafts. Bearings stop the shafts from bending or breaking.
-
Use tight timing belts and synchronous belt wheels. These keep both friction wheels spinning together.
-
Adjust the gap between the wheels. The gap should fit a pickleball snugly, but not too tight.
-
Reinforce the frame with extra beams. This reduces shaking and keeps your launcher safe.
-
Lock all nuts with lock nuts. This stops parts from coming loose when the launcher vibrates.
-
Add a motor speed control board. This lets you change how fast the wheels spin.
-
Use proper wiring and heat shrink tubing. This keeps the launcher safe from electrical problems.
Tip: Always check the gap between the friction wheels before you use your launcher. A good gap means smoother launching and fewer jams.
Speed & Spin Adjustments
You can make your pickleball launcher even better by adding controls for speed and spin. These adjustments help you practice different pickleball shots. Most DIY launchers use knobs or dials for these settings. Here’s how you can set up and use these features:
-
Install adjustment knobs for speed, spin, and ball feed timing on your launcher.
-
Start with a medium speed. Turn the speed knob to see how far the pickleball travels.
-
Use the spin knob to add topspin or backspin. Topspin makes the ball dip, while backspin makes it float.
-
Set the interval knob to control how often the launcher shoots a ball. Try a 4-second gap at first.
-
If your launcher has an oscillation feature, turn it on. This moves the launcher side to side, sending balls to different spots.
-
Mix up the settings. Try different speeds and spins to practice all kinds of pickleball shots.
Note: Changing the speed and spin helps you get ready for real games. You can practice serves, drop shots, and fast returns with your launcher.
Preventing Feeder Jams
Nothing stops practice faster than a jammed ball feeder. When you learn how to make a ball launcher, you need to design the feeder to keep pickleball balls moving smoothly. Jams happen when balls stack up or get stuck at the exit. Here are some ways to prevent jams in your launcher:
-
Make the bottom of the hopper wide and slanted, about 30 degrees. This helps balls roll down instead of stacking.
-
Avoid funneling balls from a wide hopper into a narrow opening. If you must, add an agitator. An agitator shakes or stirs the balls so they don’t get stuck.
-
Widen the exit opening to match the width of the friction wheels. This lets only one pickleball pass at a time.
-
Place rods or shelves near the exit. These break up ball stacks and keep balls from blocking each other.
-
Offset the angles inside the hopper. This stops balls from getting caught on the edges.
-
Try spiral ramps or several narrow channels. These keep balls moving and reduce jams.
Tip: Test your feeder with a handful of pickleball balls before you fill it up. If you see a jam, adjust the angle or add a rod until the balls flow smoothly.
With these steps, you now know how to make a ball launcher that works well for pickleball. You can adjust speed and spin, and you can keep the balls moving without jams. Your launcher will help you practice every kind of pickleball shot, making you a better player every time you use it.
Pickleball Machine Upgrades
Arduino Control
You can make your pickleball machine better with Arduino upgrades. Arduino helps you control your pickleball launcher in more ways. Many people use Arduino to fix problems like tricky speed dials or not having spin control. With an Arduino UNO R3, you can add new features like:
- More control over ball speed
- Remote switches to turn it on or off
- Separate spin controls for each motor
- Easy updates with a USB cable
You can also use motor driver shields and wireless relay switches. These parts help you control the motors and add remote features. Arduino lets you program your pickleball machine for different shots, like topspin or backspin. You can even add sensors to check the angle and height of each shot. This makes practice more fun and helps you get better faster.
Tip: Arduino upgrades can make your pickleball launcher feel like a fancy commercial machine!
Remote & App Features
Modern pickleball machines often have remotes and phone apps. You can use a small remote to start or stop your launcher during practice. Many players like using an app on their phone to set up special drills. These apps work on both iPhone and Android phones. They connect to your pickleball machine with Bluetooth, so you do not need WiFi.
Here are some popular app features:
- Make and save your own drills
- Control shot speed, spin, and where the ball goes
- Use random shot modes for a real-game feel
- AI-powered drills for advanced training
You can switch between the remote and the app anytime. The remote is good for quick changes. The app gives you more detailed control over your practice.
Conversion from Tennis Machines
If you already have a tennis ball machine, you can change it for pickleball. Tennis machines use bigger wheels and different chutes. To make them work for pickleball, you need to:
- Take off the large tennis wheels.
- Put on smaller wheels for pickleball balls.
- Add a chute insert to fit the lighter, perforated balls.
- Replace the deflector wires with longer, curved ones.
- Change the machine’s settings to pickleball mode if it has one.
| Feature | Tennis Ball Machines | Pickleball Machines |
|---|---|---|
| Ball Type | Tennis balls | Lighter, perforated pickleballs |
| Ball Capacity | 92 balls (avg) | 85-150 balls |
| Speed Range | Manual, moderate | Up to 75 mph, app/remote control |
| Portability | Bulky, less portable | Compact, easy to move |
| Customization | Manual controls | App and remote features |
Pickleball machines are easier to move and have more tech features. With a few changes, your old tennis machine can become a great pickleball launcher for solo practice.
Making your own diy pickleball machine costs less money. You can choose the frame and paint it any color you want. Put the motor or battery wherever you think is best. Try out new ideas and show your diy pickleball machine online with pictures or videos. Keep your pickleball machine working well by checking the belts and cleaning the parts. Store it in a dry place so it does not get damaged. Practice pickleball a lot, be careful, and have fun using your diy pickleball machine. You will get better at pickleball every time you play!
FAQ
How long does it take to build a DIY pickleball machine?
You can finish your pickleball machine in a weekend. If you have all the parts ready, you might build it in just one day. Take your time and double-check each step for safety.
Can I use regular tennis balls in my pickleball machine?
No, you should not use tennis balls. The machine works best with pickleballs because they are lighter and have holes. Tennis balls can jam the feeder or damage the launcher.
What if my machine keeps jamming?
Try widening the feeder opening or adding a small rod to break up ball stacks. Test with a few balls first. If jams keep happening, check for sharp edges or tight spots inside the hopper.
Is it safe for kids to use the machine?
Kids should always have an adult nearby when using the machine. Make sure everyone keeps hands away from moving parts. Turn off the power before making any changes or fixes.
Related Products
Related Posts

I am leo lee, a passionate pickleball player with more than 10 years playing experience, I am the owner of lixisports and helped more than 50+ pickleball orgnanizations to grow their business.

